If your workflow is anything like mine, you import 3D DWGs into SketchUp often.
In all previous versions of SketchUp, this would come in with the default material applied. However, if you’re using SketchUp 2019, regardless of whether you check or uncheck the “Import Materials” option…

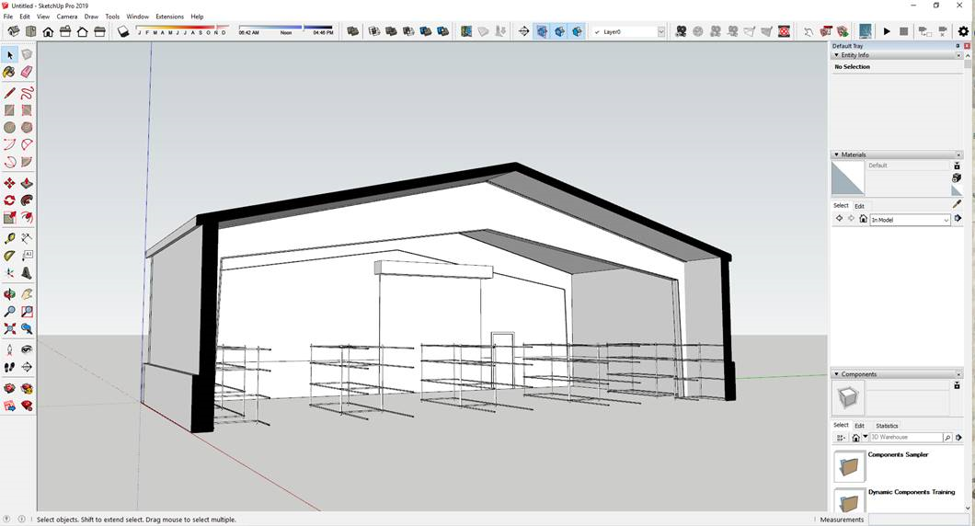
…Your model will probably come in with colors arbitrarily assigned by the program to each layer you have in CAD *AND* it applies those colors as materials to the model.

The particularly unfortunate part of this is Sketchup 2019 will apply colors to both the ‘outside’ and the ‘inside’ face of each plane (the white and the medium grey face respectively if you’re using the default material), so if you apply new materials to the visible face of anything, the color will remain inside your objects.

Outside/visible face with a new material applied

Inside the same wall
This occurs even if you triple-click, bounding box the whole model, or any other method to select “everything” in an object because SketchUp 2019 by default does not apply materials to the inside face of a plane if it already has a non-default material assigned to it.
If you want your model to be ‘basic’ in a rendering with no suggestion of materials - just a plain white box - this adds extra time to the workflow to go in and individually assign a white or default material to things where you didn’t have to before.
If you DO want materials on your model, for things like walls which are solid objects, this is more of an annoyance for neat freaks who want models to be ‘the way they should be’ and don’t like the colors occasionally showing through at the edges (like me). But in the case of materials like glass, you won’t actually be able to see through your glass if you don’t update the interior face material to match the exterior face material and your glass will look like whatever color was arbitrarily assigned to it when you imported the dwg, because the exterior face is transparent. Bright red windows usually aren’t a look we’re going for. Depending on the complexity of your model, and for example how many components you had in Revit, this can be tedious to fix.
Immediately after your DWG import, go to the materials toolbar and hit the little house button at the top of the swatch pane.

That will show you what materials are currently in the model. If you then click the black arrow at the right side of the box with a menu box inside of it for additional options, you will see an option to “Delete all.”

Click the “Delete all” option and *poof* everything is restored to the default material.
Nice, clean, default-material model again, with none of the issues listed above.
If you are importing a DWG to a model you already have materials in, which you don’t want to lose, you can look at the “In Model” materials after import and go through the effort of identifying and removing the new ones you don’t want… or you can import your DWG into an empty SketchUp file first, delete the materials, and then copy-paste the whole thing into your destination file.
Hopefully, this has been a helpful article to improve your future SketchUp 2019 workflow.
— Liz A.